Wall treatment before wallpapering

1. Use sandpaper to polish the wall surface that has been brushed with the base film to make the wall surface smoother
Mainly polish the particles in the base film layer to avoid affecting the wallpaper laying. (Note: Before sanding, make sure that the base film layer is firm and there is no leakage)
2. Use a small brush to clean the dust when polishing the wall
If the dust is not cleaned properly, it will affect the viscosity of the wallpaper glue, and the wallpaper will easily warp in a short time.
Wallpaper top construction
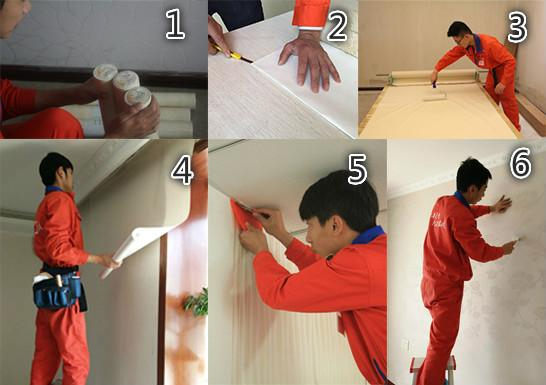
1. Stick wall: This step is when the wallpaper is really laid on the wall
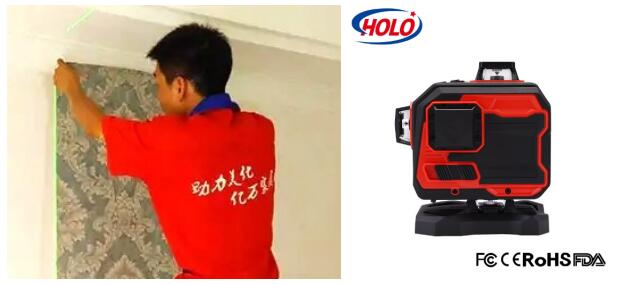
Turn on the laser level,ensure that the beam is vertical, pick up both sides of the wallpaper with both hands, and prepare to lay it.

Wallpaper splicing: Splice two wallpapers
Put your palms close to the wallpaper, spread your five fingers (large force surface, easier to splice two wallpapers), press your index finger on the joint (when the two wallpapers overlap, you can feel and make adjustments at any time) and then splice the wallpaper.
3. Remove bubbles: After the wallpaper is seamed, use a scraper to remove bubbles from the middle of the wallpaper upwards and downwards
After each wallpaper is laid, there will be bubbles. At this time, use a scraper to remove bubbles from the middle of the wallpaper, and use the scraper to press the bubbles to the top.
4. Close the top edge: cut off the excess wallpaper
Cut off the excess wallpaper, the scraper is close to the wall, the blade of the utility knife is close to the scraper, and the angle of the utility knife should be small, so as to prevent the wallpaper from having rough edges at the cutting point.
